Create a new Project
Projects are a core element in SCOUT, serving as the foundation for organizing, visualizing and analyzing insights in the platform. They are more than just a way to save queries—they are a dynamic, interactive framework that connects data insights with user-driven content.
Here some key features:
- Flexible content management. Queries are stored in projects. On your project pages, you can combine data-driven insights, such as rankings, visualizations, and bookmarks, with your own content, including text, images, embedded iframes, and uploaded files. This flexibility allows you to tailor projects to suit your specific needs.
- Building blocks for your Analytics tools. Projects are the building blocks of your Analytics tools: the Portfolio table, the Radar, and the Matrix. These tools let you visualize and analyze your projects based on both automated and user-ranked indicators, giving you comprehensive insights and actionable outcomes.
- Interactive shareable reports. SCOUT projects double as interactive reports. Share them internally with team members or externally with stakeholders through shareable links or downloadable files. Additionally, you can customize the reports by adding your organization's logo, creating a professional presentation that aligns with your brand.
In this article, we’ll guide you through two different ways to create SCOUT Projects.
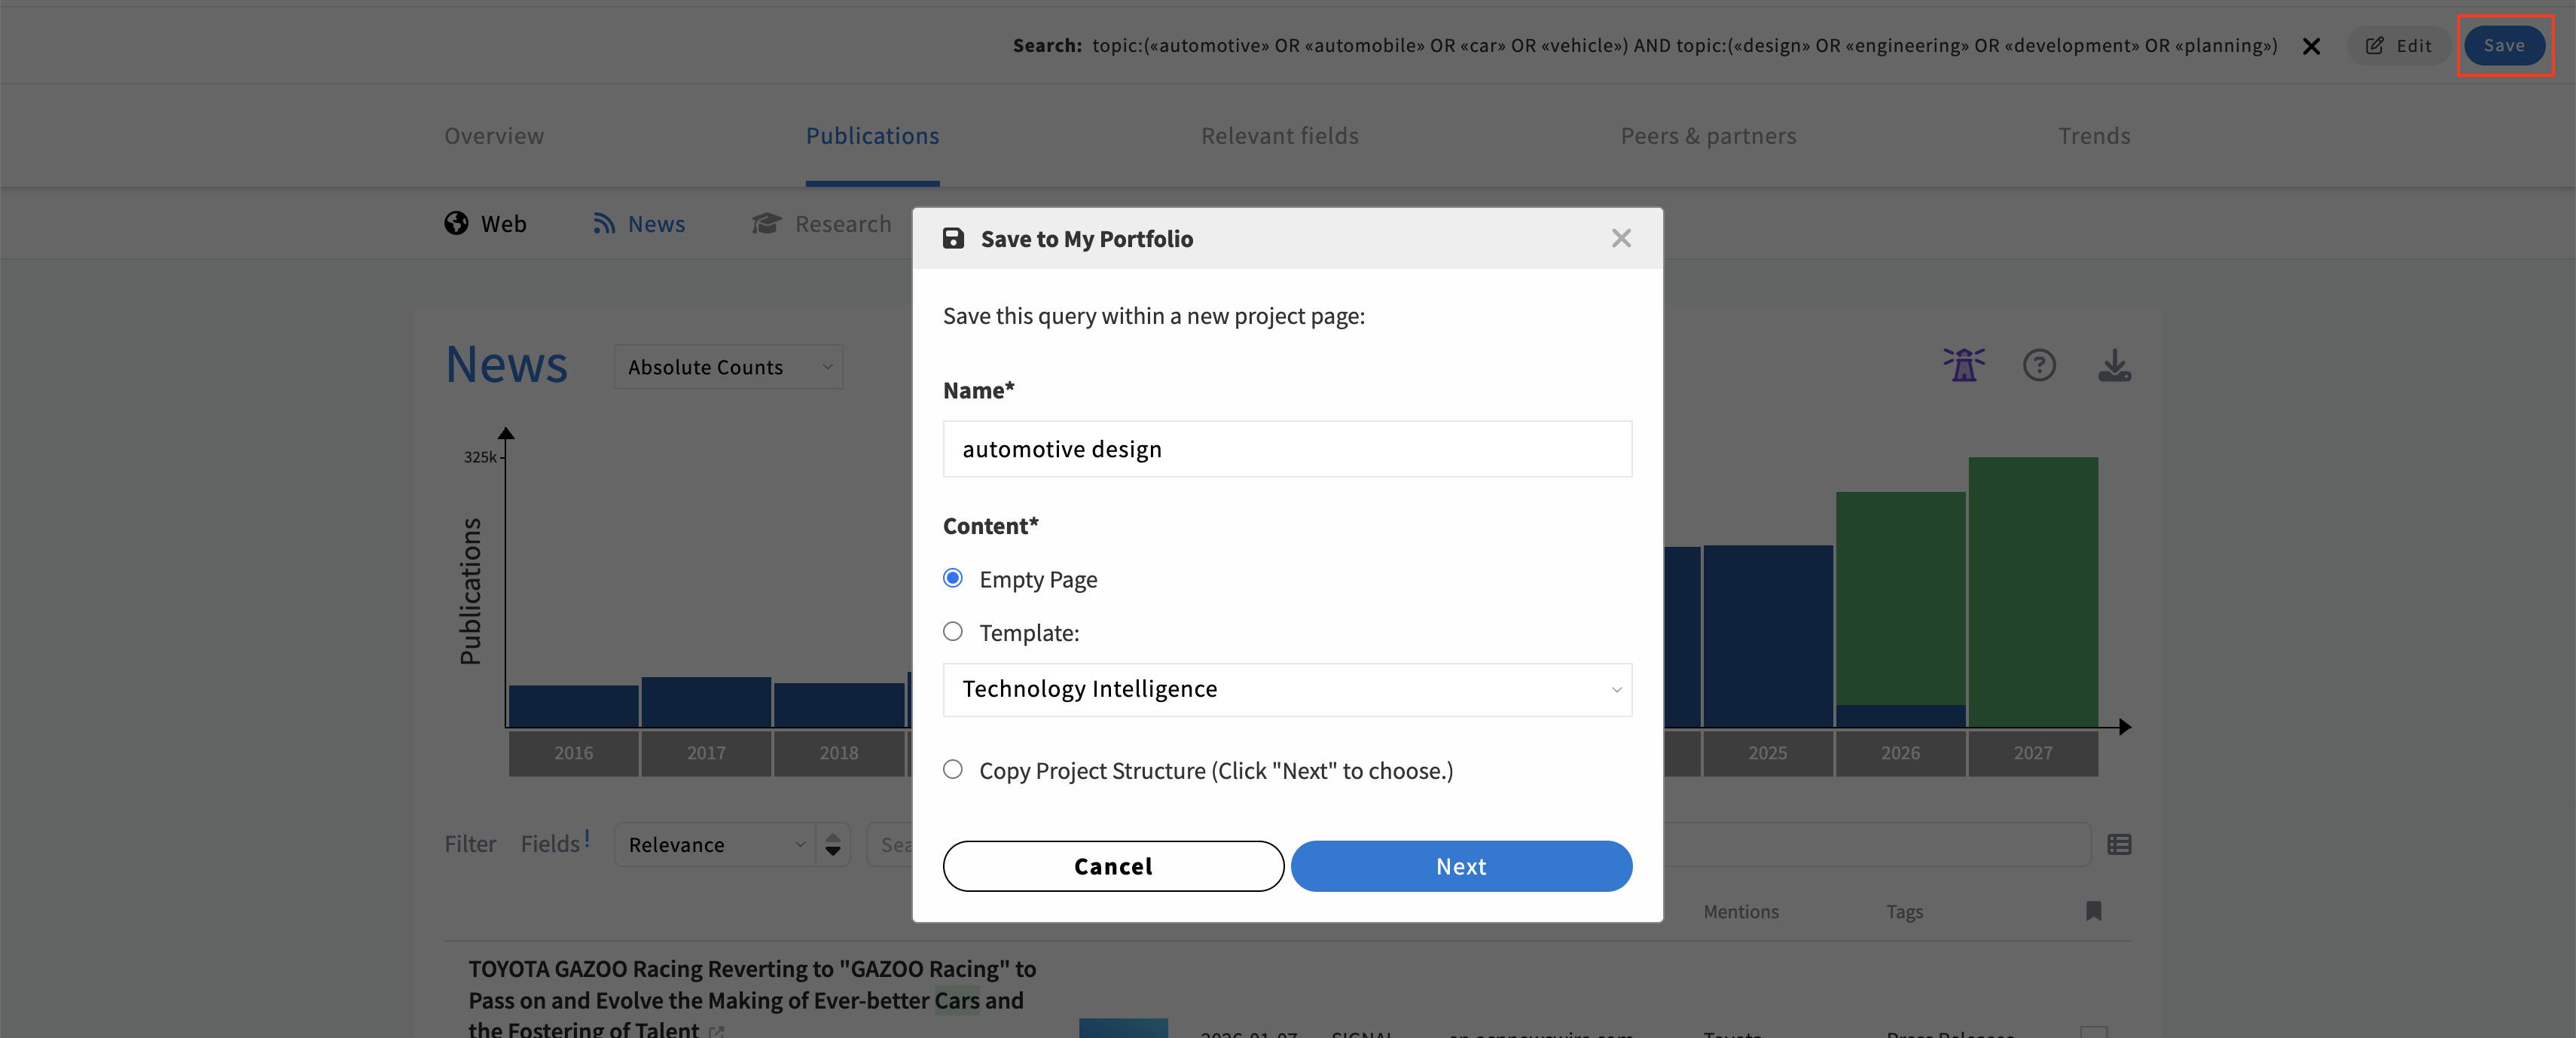
Save a query
- Navigate to the Search Hub, where you can define your query.
- Click on the Save button to begin creating your project.
- SCOUT suggests a name for your project based on the query. You can leave it as-is or provide a custom name.
- Choose a template or use case for your project. Each option includes predefined set of panels with rankings and visualizations to guide you. However, you can add and remove panels at your convenience.
- Select a folder where you want to save your project. If you want to add the search to an existing project page, click on Configure and select the appropriate page.
- Finalize your project setup by clicking Create.
Add Library content
You may also add entries from the MAPEGY Library to your Portfolio as a new project.
Check out this article to learn more.
Related articles